Make Your Bathroom Feel Twice as Spacious With These 3 Tips

A remodel in any part of your home can be frustrating, especially if you’re not quite sure what to do with it. The design options are potentially limitless if you can figure out a way to achieve them. However, if you’re unsure of how to go about tackling a certain project then things can get complicated.

A remodel without a plan is a remodel that takes twice as long to finish. The best thing you can do in any remodel situation is to plan first and then execute with contingency plans in place for the surprises. If you’re stuck on what you want to do with your bathroom design, for instance, gather some ideas ahead of time before you start the demo. There are several options such as a retro bathroom, or a spa bathroom. You’ll just need to decide ahead of time. This is especially true for smaller bathrooms, since you’ll have less space to work with.

There are ways to increase the spacial feel of your bathroom, and reaching out to a contractor or renovation company would be a good call to make. If you want to try some DIY bathroom remodeling ideas to make your bathroom feel bigger, then here are some tips for you to try out.

  1. Clean Walls: Take down anything protruding from the walls like towel racks or shelving. Not only will this create actual space, it will add to the overall feeling.
  2. Clear Shower Enclosures: Adding clear walls to your shower can be a great way to increase the perceived capacity of your bathroom. The transparent barriers add visual space even though it doesn’t really exist. Semitransparent or translucent shower enclosures may also work but will not be nearly as effective. In addition, the majority of homeowners (79%) prefer glass shower enclosures.
  3. Small Vanity: Even though it can be a sacrifice, choosing a smaller vanity is a good idea for those cramped bathrooms. This is one of those bathroom ideas that can be a double-edged sword; your bathroom feels bigger but you lose counter space. If it’s a guest bathroom or half-bath, then a small vanity probably wouldn’t be too much of a compromise.

For more information about remodeling your New Jersey bathroom, contact Flansburg Construction today!

Crucial Tips for Winterizing Your Home

Everyone knows the harsh winter months can wreak havoc on a house. Being prepared and mindful is key for any homeowner, but many people don’t realize how easy it can be to get in front of the many common problems winter can bring. Here are some of the most useful tips from the people at Flansburg Construction to help you get ahead of the season and keep your house warm, hassle-free. 

Buy supplies early

Snow shovels, caulk, weatherstripping, and leaf guards are all exceptionally useful in mitigating weather damage and snow buildup. However, these supplies are in high demand when the season is starting. Make sure you get out to your local hardware store early and stock up. Buy two snow shovels, and buy more caulk than you think you might need, especially if you live in an older house. Getting supplies early guarantees you’ll get what you need, and that you’ll have more options available when shopping

Disconnect hoses and turn off outside water

A simple trick that many homeowners forget! Destroying your hoses (or worse, your pipes) due to freezing water is an easy mistake to make, but the solution is simple: Just remember to store your hoses before it gets cold, and turn off any outside water faucets in your house. This simple trick can save thousands in repairs, and save you from an embarrassing call to Flansburg Construction about water damage.

Keep an ice-melting solution on hand

Having a solution to melt ice quickly in a pinch can be a lifesaver on cold mornings. One homemade solution is simply a 1 to 1 mix of water and isopropyl alcohol. Shake the mixture vigorously and then spray it liberally on your car windows or the sidewalk and watch the ice melt away effortlessly. Most hardware stores will stock premade solutions for this purpose.

Consider upgrading your windows

Windows are the primary culprit of most heat leakage in modern homes. For newer houses, a bit of caulk or a weatherproofing treatment is adequate to keep heat loss to a minimum. For older houses, it might be worthwhile to call Flansburg Construction and ask about replacing them with double-paned windows, which are much more heat efficient.

To learn more about Flansburg Construction or to book a consultation, call 609-528-0848 or contact us online today!

6 Ways to Stop Chimney Fires Before They Start

Enlist these techniques to reduce the likelihood of a chimney fire starting on your watch.

There are more than 25,000 chimney fires incurring $125 million-plus in property damage every year in the United States. That damage is largely due to flames in the lower chimney migrating upward to crack, warp, melt, or otherwise negatively affect the masonry or metal chimney walls. In the most severe cases, chimney fires can destroy houses and put lives at risk. These tragedies are often preventable: Failure to regularly inspect, repair, and clean a chimney can cause it to malfunction or collect dangerous build-up that puts your family at risk.

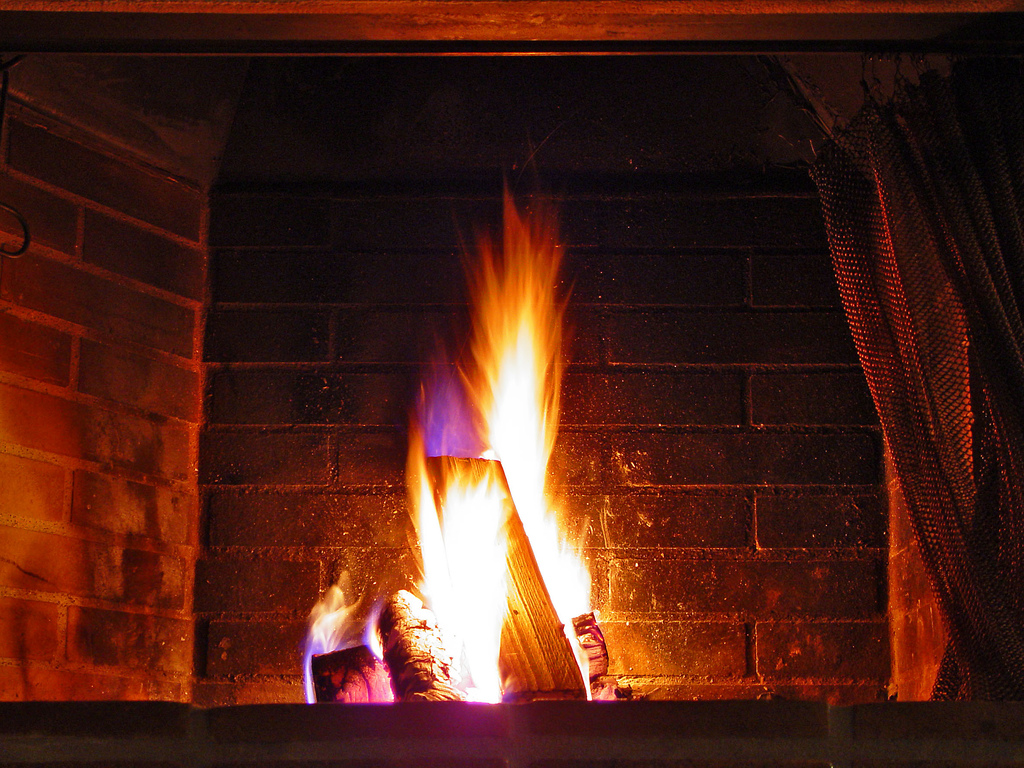
Fortunately, if you practice the prevention tips here, that hard-working column above your fireplace or wood stove should continue to do its job of ushering smoke and other by-products out of your home, so you and yours can safely enjoy cozying up in front of the flames. Keep reading to understand what causes chimney fires and the six best steps you can take for preventing them.

1. Minimize creosote build-up.

The main culprit of chimney fires is creosote. This highly flammable, dark brown substance coats chimney walls when by-products of a fire (smoke, vapor, and unburned wood) condense as they move from the hot fireplace or wood stove into the cooler chimney. If the temperature in the chimney flue (the space inside the chimney) is high enough, and the creosote build-up thick enough, creosote can catch fire—and that fire can spread and move up the flue.

To minimize creosote build-up, only burn seasoned hardwood that has dried for at least six months and contains a moisture content of no more than 20 percent, which you can easily test with a wood moisture meter (available at hardware stores for $40 and up). And remember to always keep the damper (a metal plate in the flue that regulates the draft) open during a fire to maintain adequate airflow.

And if your chimney’s flue liner (the layer between the flue and chimney walls) is uninsulated, it’s recommended to insulate it by either wrapping a heat-resistant insulation blanket around the liner or pouring an insulation mix like vermiculite (available at hardware stores for $10 at up) into the space between the flue liner and flue. An insulated flue liner will prevent flue temperatures from getting too cool—a condition that could encourage fire by-products to condense and form creosote.

2. Schedule an annual chimney inspection.

Because many defects that lead to chimney fires, such as a cracked flue liner, aren’t visible to the naked eye, it’s crucial have a Chimney Safety Institute of America-certified chimney sweep inspect your fireplace or woodstove, chimney, and venting system once a year. This pro will inform you of any damage and, if desired, repair it as well as remove soot, creosote, or obstructions such as bird nests.

Consult your chimney sweep company about which inspection level is recommended for your chimney and venting system.

3. Clean your chimney when walls have 1/8 of build-up.

If when you scratch a finger against a chimney wall and uncover one-eighth of an inch of build-up, it’s time for a cleaning. A professional chimney cleaning costs between $100 and $350 and usually includes a sweep of the outside of the chimney along with the firebox, the smoke shelf, the smoke chamber above the firebox, the flue, and the flue liner.

4. Install a chimney cap.

Leaves and animal nests inside a flue can quickly fuel a chimney fire when touched by loose embers from a fire. A chimney cap on the crown around the outside opening of the flue will keep debris and critters out. The cap will also prevent “back puffing,” whereby escaped smoke from a fire re-enters the chimney and then the home. Caps also prevent acidic rainwater from entering and corroding the chimney. Expect to spend anywhere from $50 for galvanized metal caps to $500 or more for decorative models. While some homeowners opt to put in a chimney cap themselves, self-installation may void the warranty—it may be worth it to call a pro.

5. Use safe fire starters.

Always stick to the best fire starters when selecting fuel, kindling, and tinder. Well-seasoned hardwood or CSIA-approved logs are the only fuels you should use in your fireplace or wood stove. Never use gasoline and kerosene to start a fire—these liquids are highly flammable and combustible and can quickly create a conflagration. Likewise, don’t burn coal unless you’ve got a coal-burning wood stove because it can significantly raise the temperature of the flue, increasing the risk of a chimney fire. For kindling, stick to dried twigs or branches. Cloth is a poor choice—it gives off large amounts of smoke when it burns. Use torn or crumpled old newspaper or pine cones for tinder. Never use cardboard or glossy paper (like magazine pages) as tinder because both contain chemicals that can emit toxins into the chimney and the home when burned.

6. Employ clean burning techniques.

Low-temperature, slow-burning fires, particularly those left to smolder overnight, produce more smoke and leave behind more unburned combustible material. When that hardens into creosote on the chimney walls, there’s an increased risk of chimney fires. Hot, fast-burning fires, on the other hand, leave far less smoke, vapor, and unburned wood behind, so little to no creosote forms. The best way to burn a clean fire is to use the top-down burn method: Place the large logs vertically at the bottom of the fireplace or wood stove (with the bottoms of the logs facing you), add four to five horizontal layers of kindling, then top with tinder and light.

And, before retiring for the night, always extinguish the fire: Spread out the wood and embers with a fireplace poker, then cover them with the ash lying at the bottom of the fireplace using a fireplace shovel. Then douse the cooled wood and embers with enough baking soda to cover them completely—the sodium bicarbonate will extinguish any remaining embers. After the firebox cools (for a minimum of three hours, but preferably eight), shovel the ashes into a metal container. Fill the metal container with water and store it outside the home away from other flammable materials until you’re ready to discard them.

Most Common Reasons to Renovate Your Basement

As houses age, so do their basements. Over the years, as you make renovations to your house, it’s important to keep up-to-date with renovations in your basement as well. A basement remodeling project is one of the best investments you can make when renovating your home. Is your basement due for a renovation? Here are some common reasons you may want to renovate your basement:

Mold or Mildew Smell

The unpleasant smell of mold or mildew is enough to deter most people from spending time in your basement. On top of the smell, prolonged exposure to mold and mildew growth can lead to negative health consequences such as allergic reactions and respiratory issues.

Outdated and/or Falling Apart

Another common reason individuals invest in a basement renovation is that their basements are outdated and/or falling apart. If your flooring and walls look like they’ve seen better days, then it might be time to renovate your basement. 

Changes in Needs

Just like with a home, it’s possible for your family to outgrow your basement. Luckily, basement space is so versatile you can transform it into almost anything. For families with children, converting your basement into a game room or home theater would be a great way to keep your family entertained. When your children go off to college, you can remodel your basement space into a space that better suits your tastes and needs – like a man cave or basement bar.

Homeowners across New Jersey choose Flansburg Construction to transform their basements seamlessly with the rest of their home. Find out what we can do for your home today! Fill out our contact form or call 609-528-0848 today!

Tips to Simplify Your Bathroom Storage

Trying to find storage in your bathroom can be a chore in itself. If you don’t have a large bathroom, disorganization can make your bathroom look messy and unpleasant. Fortunately, we have some storage tips to help you simplify your bathroom storage

Tame the Drawers

An organized drawer means you have space for more stuff. An organized drawer is a simple and practical way to improve your bathroom. An easy solution to organizing bathroom drawers is to use an organizer tray. Organizer trays and similar containers can easily keep small items like brushes, combs, contacts, and similar items, keeping them organized and visible in the drawer.

Contain the Clutter

Use baskets, bins and trays to keep your bathroom organized. Decorative baskets can be used to store neatly folded towels, trays and bins can be used to hold and organize beauty supplies. Plastic boxes are great storage solution for toiletries like lotions, ointments, deodorants and the like. You can also make simple and affordable renovations to your bathroom such as adding overhead cabinets, drawers, and other storage solutions to solve your bathroom storage problems.

Adding Shelves, Hooks and Cubes

Another simple storage solution to improve your bathroom is installing shelves and hooks as well as adding stackable cubes and cubbies. A small overhead shelf can be utilized to store extra towels, cleaning supplies and similar items. Similarly, hooks can be used to keep bathrobes and towels off the floor and hair dryers off the counter. You can also utilize waterproof hooks in the shower to keep bath sponges, loofahs and shower brushes out of the way. Stackable cubes can be used if extra storage space is required.

At Flansburg Construction, we pride ourselves on helping you make the best of whatever your space. Contact us today for a free consultation!

Decorating Your New Jersey Home for the Holidays

It’s true the holiday season is upon us and the anxieties of preparing your home are ever present, especially in the ever competitive Garden State. Since we know Here are some hints to help you gain more storage and maximize space for the holidays. Now is as good a time as any to think about how clutter actually affects you.

Many of us waste hours of valuable time each season, in our own homes, hunting for packed away decorations, or even those gifts we purchased throughout the year and now need to wrap! We anguish over our messy surroundings knowing that soon we’ll have a house full of family and friends, and we wonder how we can possibly get it all together in time. This increases our stress levels causing strain on our health, lack of focus and clarity, irritability, and even depression. Clutter doesn’t give you the space needed to receive the support and comfort that is necessary in life.

Let’s start with the kitchen. Junk drawers can be a hassle or they can be a resource. Because these drawers are frequently used by the people in our homes, making them organized is key, that way it is easy for everyone to put things away after use. Have you noticed that getting things out is easier than putting things away? In the resource drawer, the key to organizing clutter is to have plenty of containers in various sizes, depending on your needs. Check out your utensil drawer or holder. Are there utensils you never use that just contribute to the clutter? Are there too many spatulas and pancake turners? Are any broken, stained, or rusty that could be thrown away to create more room in your drawer or holder? If your utensils are in a drawer, install a divider to keep them contained in one place so they don’t slide all over.

Organize the rest of your kitchen by type of space. Premium spaces are those that can be easily accessed and store items that are used on a daily basis. The dishes you use about once a week, place in a secondary space. And dishes you use about once a year, such as holiday dishes, place in semi-storage so you know where they are but they aren’t visible on a regular basis.

Now let’s focus on streamlining the bathroom. All too often bathrooms fall short on storage space, and items become cluttered. Use our bathroom storage solutions to keep this highly trafficked room tidy, orderly, and looking great. By optimizing the available storage and keeping basic necessities in plain sight, visitors can easily navigate the bathroom to find what they need. Start by clearing off all of your bathroom surfaces. Next, decide which items you can toss and which can be stored away in a closet or drawer. Then, organize the essentials you want to keep out for easy access.

On a vanity, set out a folded hand towel and a collection of your essential toiletries on a decorative dish next to the sink. Plastic or acrylic dishes are inexpensive, unbreakable, and easy to wash. Use the top of the toilet tank as a resting spot for a slim basket filled with holiday hand towels, soap, lotion, mouthwash, and other everyday needs. Keep a basket in a bathroom closet or under the sink that is filled with other items like extra hand towels, toiletries, air fresheners, and toilet paper so you can easily and quickly replenish those that have been used-up. Whether your bathroom is large, small, or in between, you can use our tips to organize a frequently used bathroom and store various necessities in attractive and useful ways.

Bathroom spaces can be tricky, especially when they are small, but creating zones and maximizing storage will help immensely. Keep clean towels visible. Use shelving to provide guests with the access they need to certain items. Baskets can provide texture and flare to a space while providing additional storage. To best maximize a small space like this, put yourself in your guest’s shoes and visualize their needs.

When your home becomes hectic during the holiday season, simple and straightforward organization really comes in handy. Transform your home into a haven for you, your family, and your guests with special, organized touches. By simply creating a home that is efficiently organized, more than half of all housework can be eliminated. Instead of stressing during the holidays, you can thoroughly enjoy spending time with your loved ones.